From Sketch to Store: Streetwear Collection Journey Behind-the-Scenes at Vainnx
A practical OEM production timeline
Turning a streetwear idea into sellable inventory is not a single factory handoff. It is a sequence of decisions: translating a mood board into production-ready specifications, checking a first sample, locking a gold sample, controlling bulk quality, and preparing documents for shipment. When those decisions happen in the wrong order, a launch can lose weeks. When they happen in a visible, documented workflow, a brand can make better calls with less rework.
This behind-the-scenes guide uses an anonymized, representative 75-day custom streetwear project timeline. Actual timing depends on fabric availability, development complexity, order volume, testing requirements, freight mode, and how quickly approvals are returned. Vainnx is a premium B2B custom streetwear manufacturer; the purpose here is to show the questions a buyer should ask any production partner, rather than to promise a fixed delivery date.
1. Start with a production brief, not just inspiration
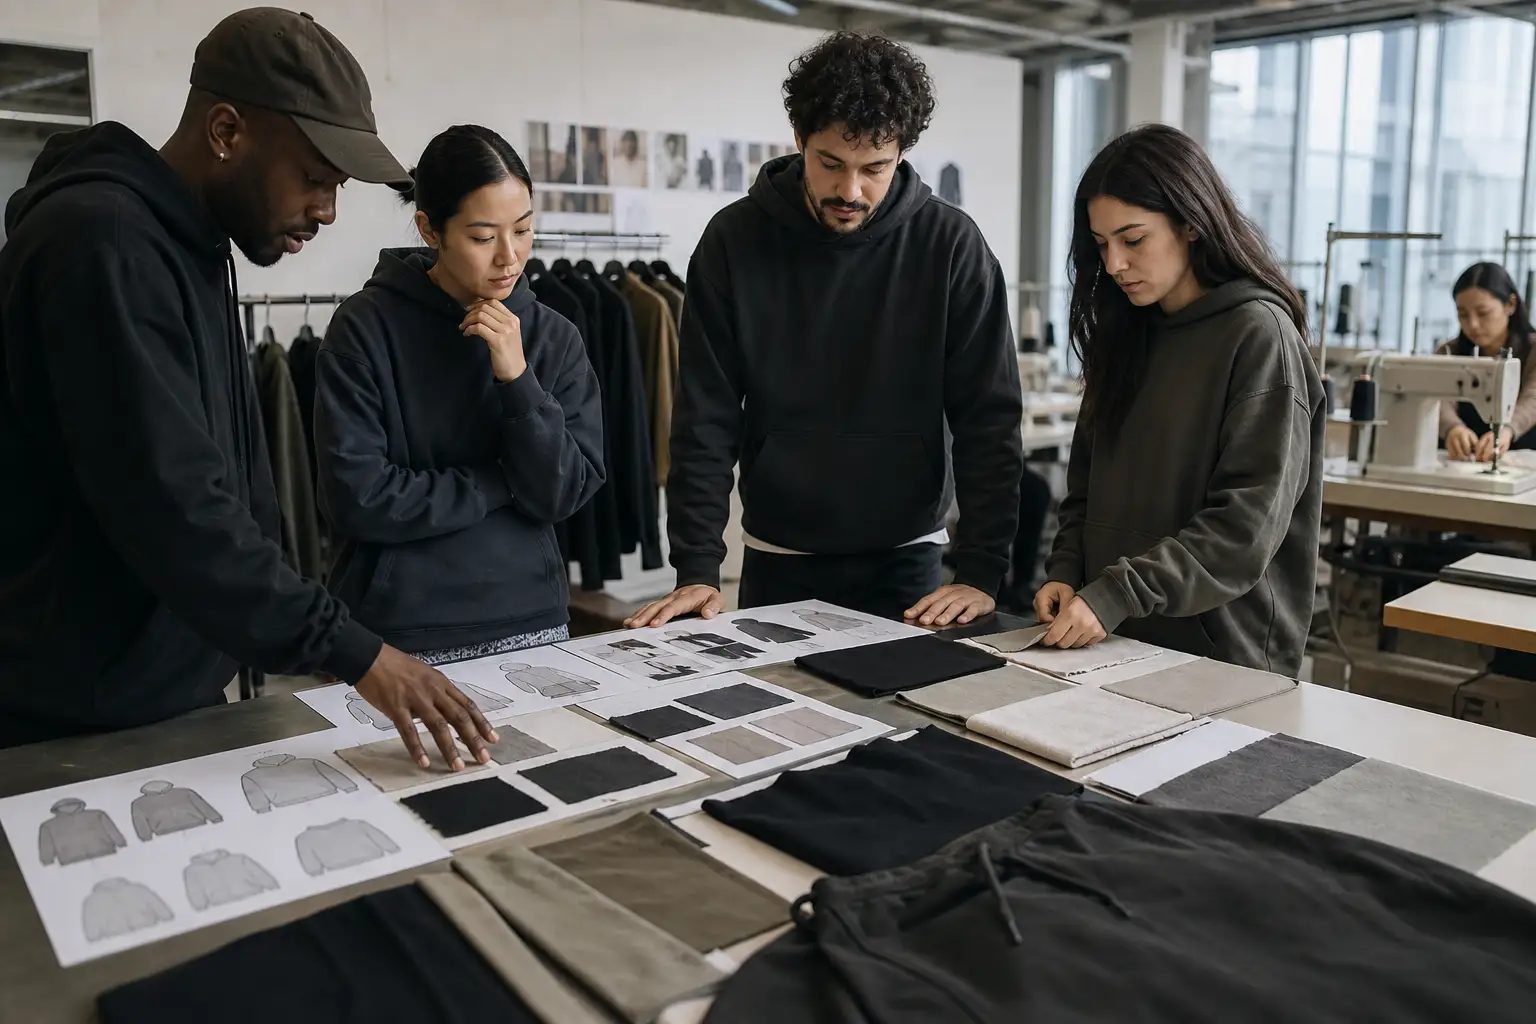
A mood board is useful because it establishes attitude, references, and color direction. It is not enough by itself to make a repeatable garment. On day one, the productive conversation separates creative intent from measurable requirements: which styles are in the collection, who will wear them, what fit is intended, which details are non-negotiable, and what price and delivery window are realistic.
For a hoodie, the brief should identify the silhouette, target fabric weight, fiber preference, color, rib construction, pocket type, decoration method, label placement, packaging, and target quantity. For denim, add wash reference, rise, leg shape, hardware, distressing, and measurement points. A buyer who gives clear reference photos but leaves dimensions, materials, or artwork unresolved should expect development questions before sampling can begin.
Kickoff output
Ask for a written recap that lists each style, open decisions, supplied files, sample target date, and the person responsible for approval. It becomes the baseline when the project moves quickly.
2. Days 2-5: Turn the concept into mockups and material choices
The next step is design translation. A factory team can prepare digital mockups, pattern notes, decoration placement guides, and a preliminary bill of materials. This is where a heavyweight tee reference becomes a fabric specification, a washed-black reference becomes an achievable wash route, and a small chest logo becomes a print size and placement measured from a stable point such as the high point shoulder.
Material selection deserves more attention than it often receives. Two fabrics can share a similar weight but differ in fiber blend, surface, shrinkage behavior, hand feel, and suitability for embroidery or screen printing. Request swatches or clear material photos, then approve against the intended use rather than an unverified catalog name. Where color matters, document the target using a physical standard or an agreed digital reference and acknowledge that screen rendering is not a production color standard.
- Confirm fabric composition, weight, finish, and color for every style.
- Mark artwork size, placement, colors, and technique on a placement sheet.
- Record measurements and tolerances for the sample size before cutting begins.
- Call out critical details such as special seams, wash effects, stones, or custom hardware.
3. Days 6-15: Build the first prototype to expose risks early
A first prototype is a learning tool, not a final product. It tests whether the pattern creates the intended shape, whether a fabric supports the design, whether an embellishment survives handling, and whether a design detail can be made consistently. The most useful feedback is specific: “body length is 2 cm shorter than target,” “rib recovery is too soft,” or “the print must move 1 cm up.” “Make it better” creates ambiguity and slows the next round.
In a premium streetwear project, details drive many sample revisions. A drop shoulder changes the sleeve pitch. A dense embroidery can pull lightweight jersey. A vintage wash can shift dimensions. Rhinestone artwork may need spacing changes so it remains readable and durable. Vainnx can help connect these design choices to feasible manufacturing routes, but the brand should still retain final approval over fit, artwork, and commercial intent.
4. Days 16-25: Run a structured fit review and revise once with purpose
Fit approval works best with a repeatable review format. Lay the sample flat, compare each point of measure with the approved specification, photograph front, back, and details, then put the garment on the intended body type or fit model. Note the difference between a measurement issue and a styling preference. A garment can measure correctly and still feel too narrow through the chest or too long through the body.
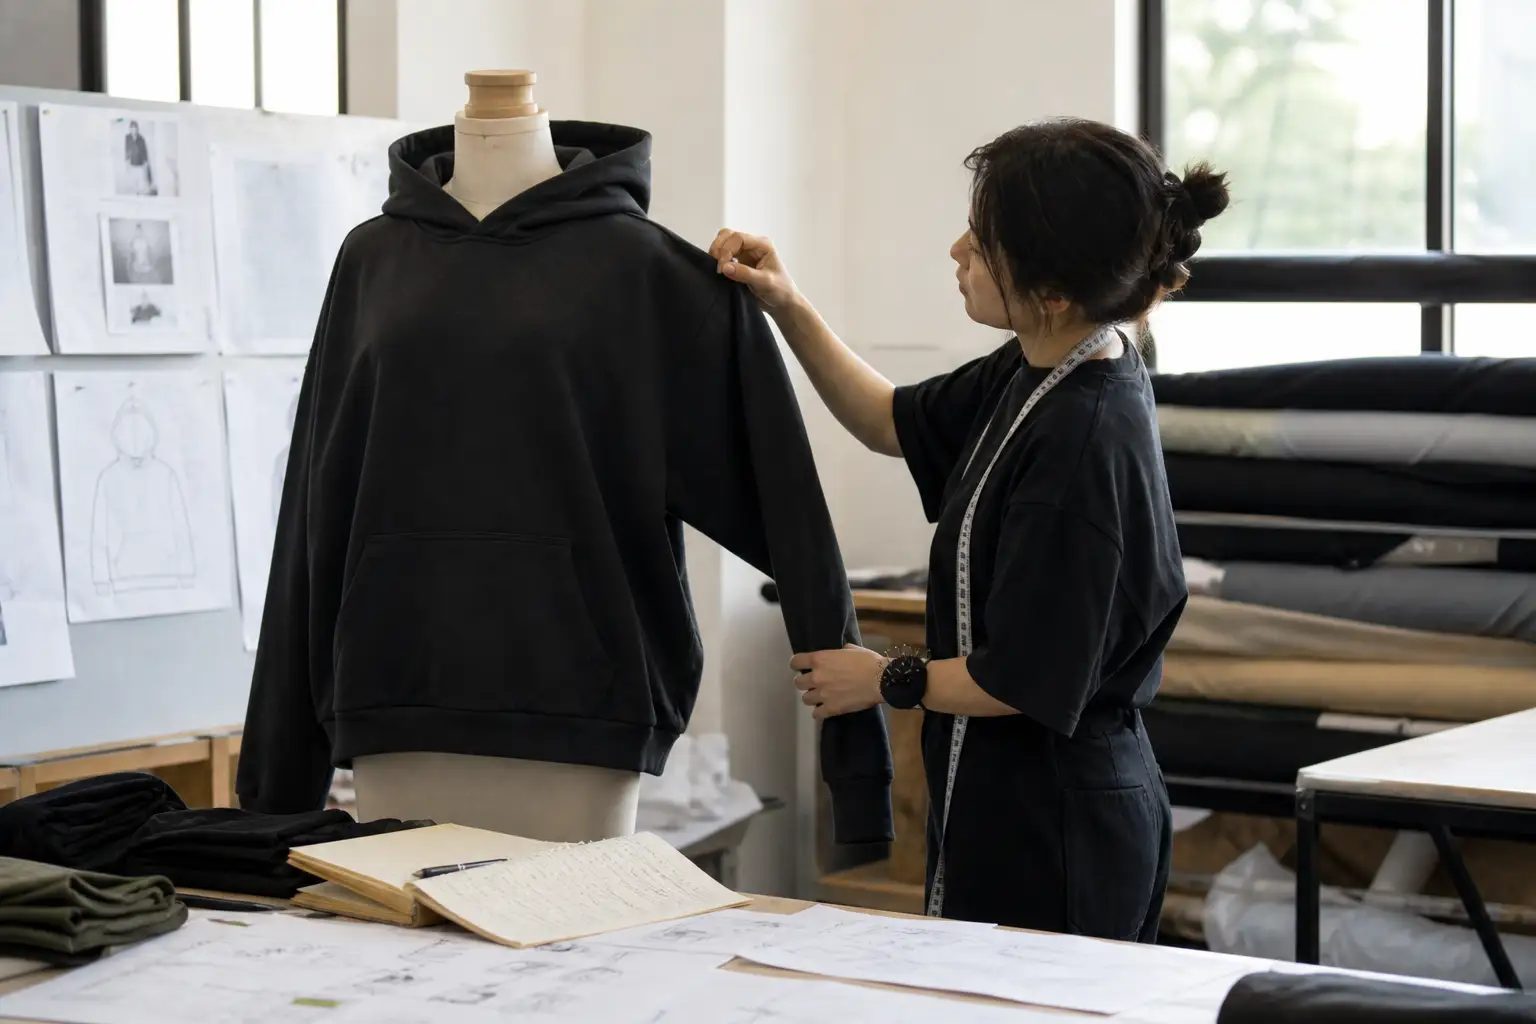
Consolidate feedback before sending it. Multiple small approvals from different stakeholders create version confusion. One decision-maker, one dated comment sheet, and one annotated set of photos make the revision traceable. If a fabric, wash, or decoration has changed, ask whether the revised sample needs a repeat test of the affected area.
| Review area | What to verify | Approval evidence |
|---|---|---|
| Fit | Measurements, balance, mobility, proportion | Signed measurement chart and photos |
| Materials | Hand feel, color, weight, shrinkage expectations | Approved swatch or material reference |
| Decoration | Scale, placement, coverage, edge quality | Approved artwork and detail photos |
| Packaging | Labels, folding, hangtags, polybag requirements | Pack-out sample or written packing spec |
5. Days 26-35: Approve a gold sample before bulk production
The gold sample is the agreed production reference. It should reflect the final pattern, fabric, color, decoration, labels, and packing details as closely as practical. Do not treat an email saying “looks good” as a substitute for identifying the exact approved version. Record the sample date or code, the approved changes, and any tolerances that are acceptable in bulk.
This step protects both buyer and supplier. It prevents a bulk team from working from an early prototype and gives quality control a physical or documented benchmark. If the bulk lead time is commercially sensitive, it is tempting to start before final approval. That can be appropriate only when the buyer understands the risk and defines which components are being released at risk.
6. Days 36-55: Keep bulk production visible without micromanaging it
After gold-sample approval, production moves through material preparation, cutting, sewing, decoration, finishing, and packing. The buyer does not need an update for every operation; they do need a shared milestone plan. A useful update shows what has completed, what is in progress, whether there is a risk to the target date, and what decision is needed from the brand.
For custom streetwear, in-process checks should focus on the attributes that most affect resale quality: shade consistency, measurement control, stitch security, decoration alignment, wash effect, hardware function, and label accuracy. If an AQL-based final inspection is part of the agreement, define the inspection level, acceptable quality limits, defect definitions, and whether rework is possible before goods are packed. ISO 2859-1 is a widely used framework for attribute-sampling inspection; it does not replace an agreed product specification.
Make quality measurable
Use photos and a written inspection report as evidence, but tie every finding to the approved sample or specification. “Good quality” is not an acceptance criterion.
7. Days 56-65: Inspect, pack, and prepare the shipping file
Final quality control is the last chance to correct repeatable issues before the cartons close. The inspection should include appearance, measurements, construction, decoration, labels, count, and packing. Ask for clear photos of representative garments and carton marks, plus a report that distinguishes critical, major, and minor defects according to the agreed plan. A pass result should not conceal any remedial work completed before release.
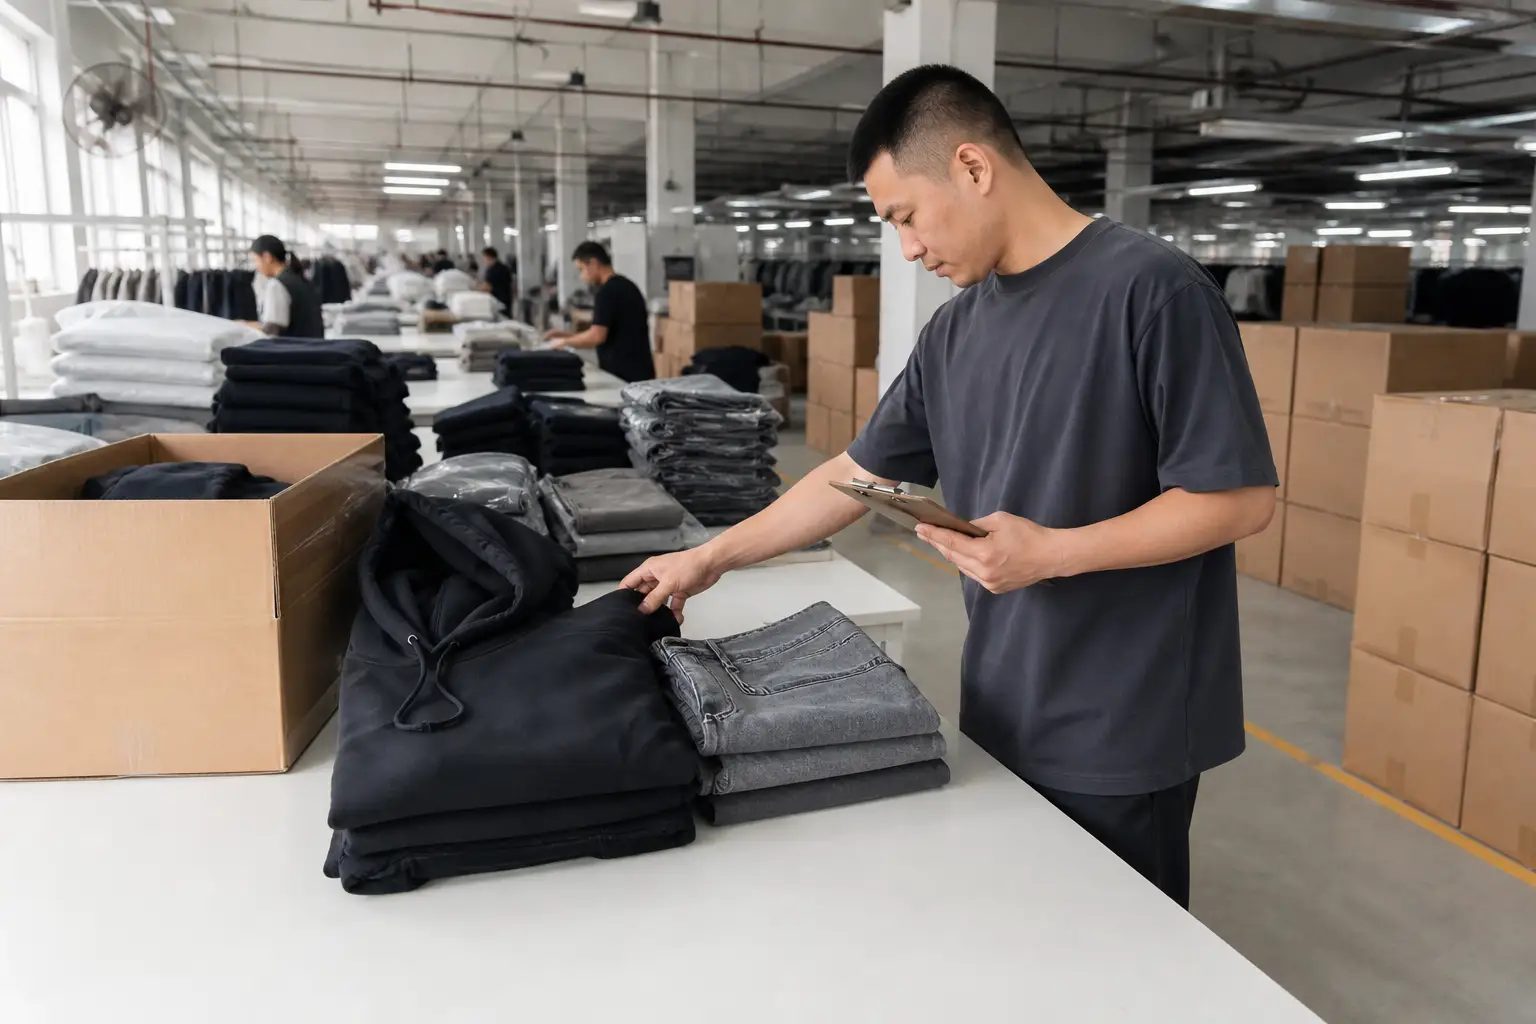
Shipping preparation is also a documentation exercise. Depending on the route and Incoterm, the buyer may need a commercial invoice, packing list, transport document, country-of-origin information, and customs-related data. For U.S.-bound apparel, fiber content, country of origin, and care labeling requirements are important areas to review; the Federal Trade Commission publishes guidance on textile and care labeling. Importers should verify the exact requirements for their destination, product category, and audience rather than relying on a generic factory checklist.
8. Days 66-75: Receive inventory and close the production loop
When inventory arrives, count cartons promptly and inspect a representative selection before launch. Compare received goods with the packing list and approved reference, then document any issue with photos, quantities, and a clear description. A fast, factual receiving report makes it easier to resolve genuine problems and improves the next order’s specification.
Close the project with a short review: Which materials performed well? Where did the timeline stretch? Which questions were repeated? What would change for a reorder? This is where a factory relationship becomes a production system. For brands building recurring collections, keeping approved measurements, artwork files, material references, and QC outcomes in one version-controlled folder is often more valuable than the initial sample itself.
9. A concise buyer checklist for a smoother custom streetwear launch
- Before sampling: supply clear artwork, fit intent, quantities, target price, and a decision-maker.
- At sample review: approve or revise from a single dated feedback list.
- Before bulk: identify the gold sample and release only finalized components.
- During production: request milestone-based updates and escalate risks early.
- Before shipment: agree QC criteria, packing details, documents, and freight responsibilities.
- After receipt: inspect promptly and preserve the approved references for the reorder.
From a sketch to a repeatable collection
The best manufacturing timeline is not the shortest-looking calendar. It is the one with explicit inputs, documented approvals, and enough room to test the decisions that matter. A custom collection can move from concept to store with discipline when the brand treats sampling and quality control as business decisions, not administrative delays.
For B2B buyers seeking a premium custom streetwear manufacturing partner, Vainnx can support the workflow from development through bulk production, quality documentation, and shipment preparation. The practical starting point is a complete brief and an honest conversation about what the collection needs to achieve.